How to create and host your own waitlist or newsletter app
Introducing a product or service starts with capturing interest—and keeping it. A small, self-hosted waitlist or newsletter app does exactly that: collect consented emails now, confirm later, and reach subscribers at launch without vendor lock-in. This guide walks through a minimal, auditable implementation patterned after waitlist.onl and its companion repositories, with Supabase for storage/auth, Resend for email, and database-native scheduling.
Core functionality (what it does)
From the user side, the flow is intentionally simple:
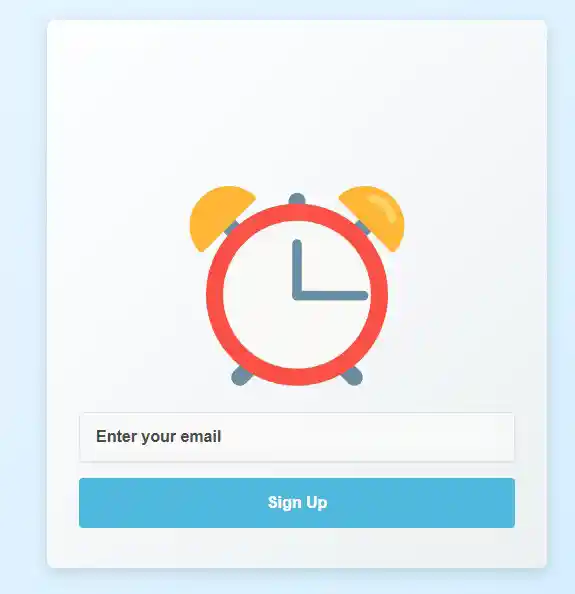
- Visit a clean landing page, submit an email, and get an on-screen confirmation (optionally with a visible signup rank).
- Receive a launch-day reminder email after the project goes live (one time).
- Optional improvements (recommended): double opt-in, confirmation receipt, and unsubscribe link.
From the admin side, capabilities are equally focused:
- Secure login via Supabase Auth (admin account allowed by a single configured email).
- Dashboard to set or change the launch date, list signups, and export CSV.
- Manual send for updates or pre-launch messages.
- Automated reminder post-launch using database scheduling; one reminder per contact, tracked via
reminder_sent=false/true.
Note: When automatic mode is active, the text defined in
const defaultTextis used for the post-launch reminder. Dashboard text is for manual sends. The automated reminder runs only for rows wherereminder_sent=false.
Architecture & tech stack (deep dive)
Two reference implementations:
- Vanilla JS + Node.js (Express) — a compact server with clear routes and minimal dependencies.
- React/Next.js — the same core logic expressed as API routes in a modern app framework.
Key components:
- Supabase (Postgres + Auth) powers persistence and admin identity. Direct Postgres access enables pg_cron and pg_net for scheduling and HTTP callbacks.
- Resend provides a simple, modern transactional email API for confirmations and launch reminders.
- Database-native scheduling replaces external job runners in serverless/container environments. Postgres owns the clock; the app owns business logic.
- Flags & invariants keep behavior explicit:
reminder_sentboolean ensures one automated reminder per contact.forceSendtoggles manual campaigns.updateReminderSentcontrols whether the handler flipsreminder_sent=trueafter a successful automated send.
Database-native scheduling (pg_cron + pg_net)
Instead of embedding schedulers in the app, Postgres runs the show:
- Bootstrap at first admin validation (
/api/admin/validate):- Enable
pg_cronandpg_netextensions. - Create a recurring cron job (e.g., every 15 minutes).
- Enable
- Cron → HTTP:
- The cron job calls a protected endpoint, e.g.
GET /api/admin/waitlist-reminders, viapg_net.http_request. - A bearer token header (
CRON_AUTH_TOKEN) authenticates the request.
- The cron job calls a protected endpoint, e.g.
- Handler logic:
- If
forceSendis provided, send to a scoped segment (manual). - Else, for rows with
reminder_sent=falseandnow() >= launch_date, send one reminder, then setreminder_sent=truewhenupdateReminderSentis true.
- If
- Why this design:
- Works reliably on serverless/containers (no long-running schedulers).
- Auditable: scheduling lives in SQL; outbound calls are visible and monitorable.
- Failure isolation: retries are naturally handled by the next cron tick.
This approach avoids
node-cronfragility in short-lived processes and keeps reminder logic transparent.
Setup & configuration (getting started)
-
Clone and install
git clone …npm install
-
Environment variables (in
.envor hosting secrets)SUPABASE_URL— your project URLSUPABASE_ANON_KEY— public anon key for client SDKS (if used)DATABASE_URL— Postgres connection string (used by server + SQL bootstrap)RESEND_API_KEY— Resend API keyRESEND_SENDER_EMAIL— verified sender (initially often ends with@resend.devuntil domain is set)ADMIN_ALLOWED_EMAIL— the single email allowed to access the admin dashboardCRON_AUTH_TOKEN— strong random token used as a bearer credential bypg_netwhen calling your reminder endpoint- Optional, depending on your hosting:
NEXT_PUBLIC_SITE_URL,NODE_ENV, etc.
-
Admin account
- Create the admin user in Supabase Auth using
ADMIN_ALLOWED_EMAIL.
- Create the admin user in Supabase Auth using
-
First-run validation
- Visit
/login→/api/admin/validatepath initializes extensions, schedules the cron job, and stores a canonical launch date if not set.
- Visit
-
Verify email
- Configure Resend domain and DNS (SPF/DKIM) for production sending. During early testing you can use the
@resend.devsender.
- Configure Resend domain and DNS (SPF/DKIM) for production sending. During early testing you can use the
Ensure you set a strong
CRON_AUTH_TOKEN. Without correct env values, the app cannot reach Supabase or Resend, and reminders will not run.
Admin UX & operational notes
- Launch date is the canonical control for the automated reminder. Changing it affects who is eligible on subsequent cron ticks.
- CSV export includes fields like
email,consent_ts,ip,source, plus operational fields (e.g.,reminder_sent). - Manual sends are rate-limited by your provider; use tags/segments to keep sends relevant.
- Error visibility: log failures with enough context to retry specific contacts or rerun a batch safely.
Lightweight telemetry (optional)
Purpose and scope:
- Observability: count signups, watch failure rates, and track handler latency to preempt issues.
- Privacy: no personal data or email addresses; only event types, host domain, counts, timings, and error shapes.
Default behavior and controls:
- Disabled automatically for
localhostand whenRESEND_SENDER_EMAILends with@resend.dev. - Can be disabled entirely via
ALLOW_TELEMETRY=FALSE.
Deployment notes
- Separation of concerns
- Front-end (landing page) can run on an edge host (e.g., Vercel).
- API/server (Express or Next.js API routes) can run on Cloud Run/Render/Fly/VPS Docker.
- Secrets
- Keep
RESEND_API_KEY,DATABASE_URL, andCRON_AUTH_TOKENserver-side only. - If you need client UX for “key validation,” proxy through a short-lived server token rather than exposing provider keys.
- Keep
- Reliability
- Confirm
pg_cronschedule exists andpg_netcalls succeed (check Postgres logs and app logs). - Add basic health endpoints and startup checks.
- Confirm
- Email readiness
- Set SPF, DKIM, and DMARC before any real sends.
- Warm up gradually and prefer engaged cohorts.
Recommended next steps (roadmap)
- Confirmation email after signup (double opt-in; store
consent_ts,consent_ip, method). - Unsubscribe link and suppression handling.
- Simple templates (Markdown/MJML) with a small set of brand tokens.
- Analytics view in the admin panel (signups/day, conversion to confirmed, deliverability stats).
- Rate limiting and disposable-domain filtering.
- Optional referral rank and unique share links with throttled “you moved up” messages.
A minimal, database-scheduled waitlist/newsletter stack keeps the surface area small, the control plane clear, and your data yours. Start with the basics (clean form, consent records, one reminder), add double opt-in and unsubscribe, and grow toward templates and analytics as your audience expands. With Supabase, Resend, and Postgres-native scheduling, you can ship in an afternoon and scale with confidence.